#Creating a UML class diagram
-
##Creating a UML class diagram
Here are seven steps to help you create a simple UML class diagram:
- Identify the Key Classes
- Define Class Attributes
- Determine Class Methods
- Identify Relationships
- Draw the Classes
- Connect the Classes
- Add Abstract Classes and Interfaces
-
###Identify the Key Classes:
Determine the main classes in your application based on the requirements and functionalities. These are typically the primary entities in your system. (What are your NOUNS?)
-
###Define Class Attributes: For each class, list its instance fields (attributes). Include the data type and access modifier (e.g., private, public).
-
###Determine Class Methods: Identify the key methods for each class. Include the return type, method name, and parameters. Indicate the access modifier as well. (What are your VERBS?)
-
###Identify Relationships: Determine how the classes relate to one another. Common relationships include inheritance (generalization), implementation (interface), association, aggregation, and composition.
-
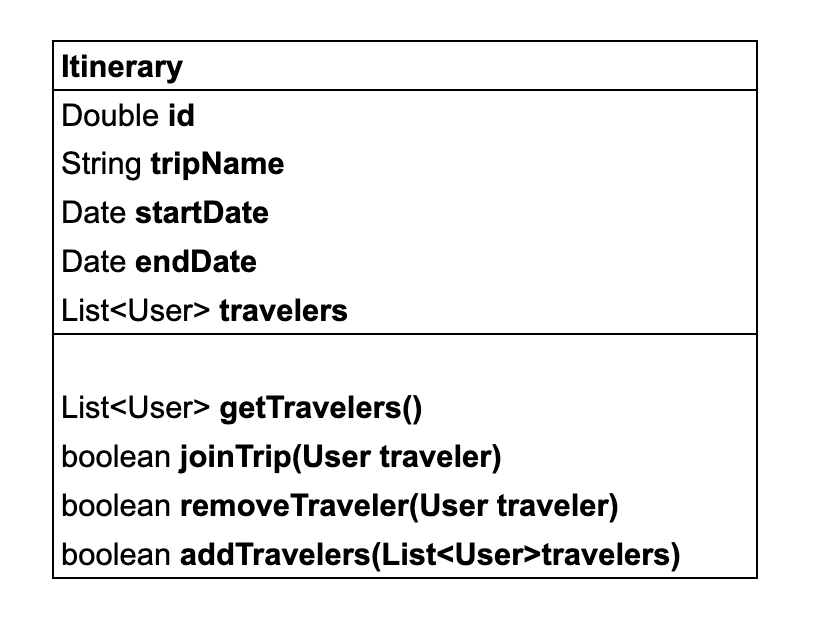
###Draw the Classes: Use a UML tool or paper to draw boxes for each class. Inside each box, list the class name at the top, followed by its attributes and methods.
-
###Connect the Classes: Draw lines between the classes to represent relationships. Use arrows for inheritance (a solid line with a hollow arrow), dotted lines for interfaces, and plain lines for associations.


-
###Add Abstract Classes and Interfaces: Clearly indicate abstract classes and interfaces. Abstract classes should have their names italicized or use a stereotype « abstract ». Interfaces should use a stereotype « interface ».

-
By following these steps, you should be able to create a clear and organized UML class diagram that shows the structure and relationships within your application.
-
